By Admin
Content
The first time you see a corneal abrasion under a Wood's lamp is hard to forget. Under room light the eye looks ordinary; in a dark room, a handheld ultraviolet source and a single drop of fluorescein turn a subtle epithelial defect into a bright yellow-green patch that is unmistakable. This pairing has been a fixture of primary eye-care screening for generations because it is fast, inexpensive, and reliable when performed correctly. It is also easy to overestimate. The fluorescein and Wood's lamp test is a surface examination, not a full ophthalmologic evaluation—and knowing where its usefulness ends is part of using it well.
The Wood's lamp, built around the nickel-oxide filter developed by physicist Robert Williams Wood, transmits long-wave ultraviolet light across approximately 320–400 nm, with its strongest output near 365 nm. Almost all visible light is blocked, which is why the examination field appears violet-black. Fluorescein sodium changes that picture. When the dye is applied to the eye, it mixes with the tear film and travels across the corneal surface. Healthy epithelium resists the dye, but wherever surface cells have been lost, fluorescein seeps into the exposed basement membrane or stroma and remains trapped. Excited by the lamp's shorter wavelengths, the trapped dye re-emits energy in the yellow-green band, producing the classic bright yellow-green fluorescence against a dark field.
| Parameter | Typical value | Clinical relevance |
|---|---|---|
| Wood's lamp UV band | 320–400 nm | Deep UV blocked to limit phototoxicity |
| Peak UV output | ~365 nm | Matches fluorescein absorption tail |
| Fluorescein emission peak | ~520 nm | Defines the yellow-green signal |
| Observed defect color | Yellow-green on violet-black | Common reference for chart documentation |
Because only the surface is being tested, the result reads as a simple question for each corneal zone: "Is epithelium present here, or not?"
The most common indication is a suspected corneal abrasion. A patient arrives with a foreign-body sensation, tearing, and a history of something striking the eye—a fingernail, a tree branch, a contact lens mishap. The fluorescein test answers the diagnostic question in seconds. But the same yellow-green signal, read by pattern, separates several other conditions.
A frank abrasion appears as a well-demarcated island of yellow-green with bright edges. Recurrent corneal erosion adds a history of pain on waking and a staining pattern that can look irregular because the epithelium is lifted rather than simply removed.
An embedded foreign body creates a small ring of dye pooling around the particle. Dry eye disease produces fine, diffuse stippling across the lower half of the cornea—the classic punctate epithelial erosions. A dendritic pattern with branching lines is the hallmark of herpetic keratitis and is not something to manage with a routine antibiotic.
| Fluorescence pattern | What it usually means | Typical next step |
|---|---|---|
| Single round patch, sharp border | Corneal abrasion | Topical antibiotic; review in 24–48 hours |
| Fine scattered stippling | Dry eye / exposure keratopathy | Lubricants; assess lid closure |
| Branching figure with terminal bulbs | Herpetic keratitis | Ophthalmology referral; avoid steroids |
| Halo around a retained particle | Corneal foreign body | Irrigation first; slit-lamp removal if retained |
Reliable results depend more on preparation than on interpretation. Work backward from the endpoint you want: a stable, well-stained ocular surface, a dark examination environment, and a lamp that holds its power.
Most clinics perform this sequence in a dedicated examination room, but the technique travels. On a general ward, where the patient cannot easily be moved, a light source with built-in battery backup keeps the exam possible without hunting for a free power outlet.
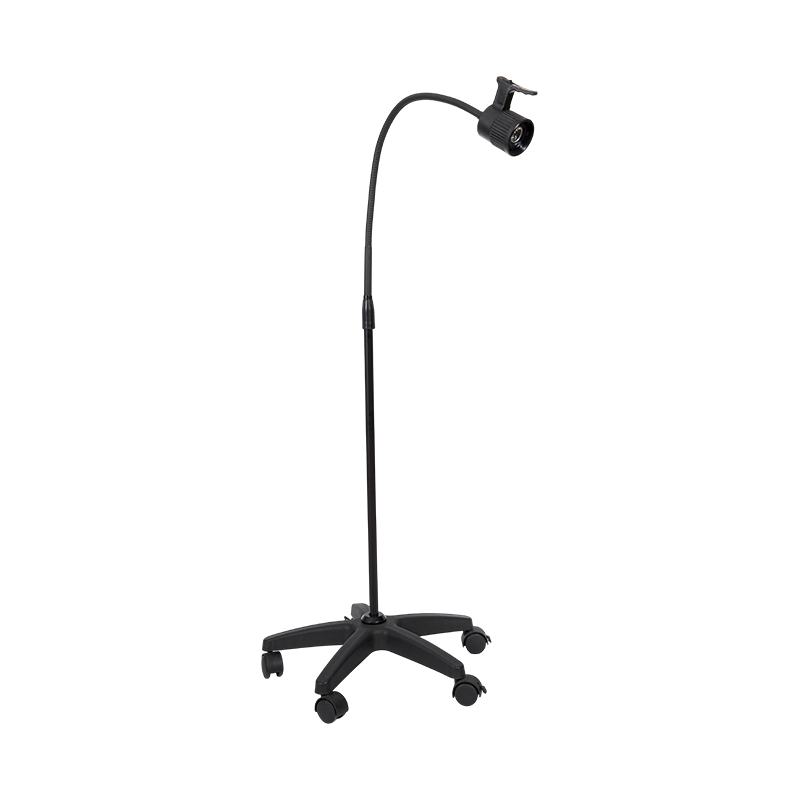
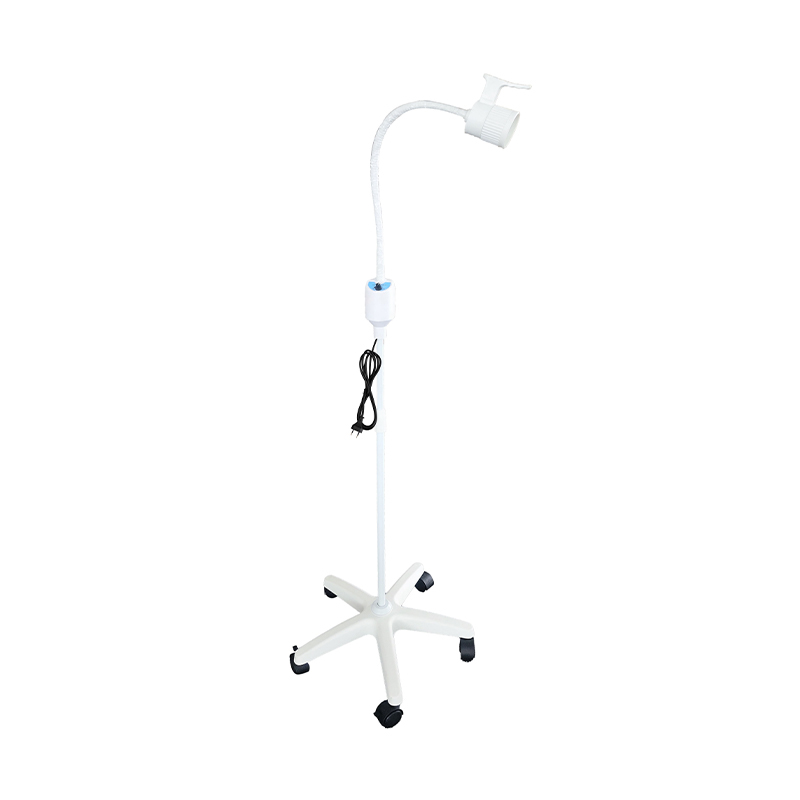
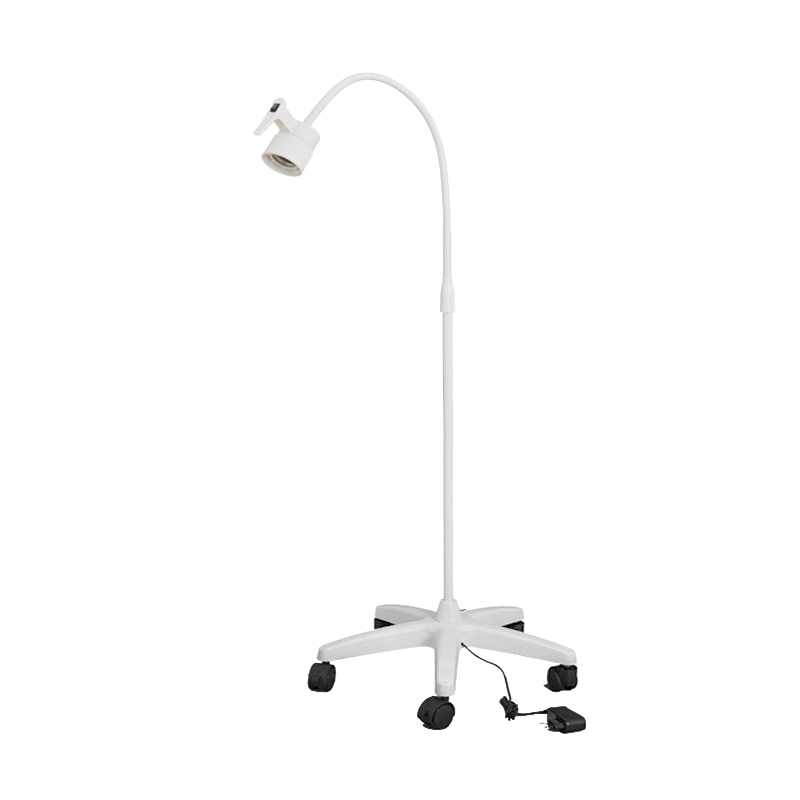
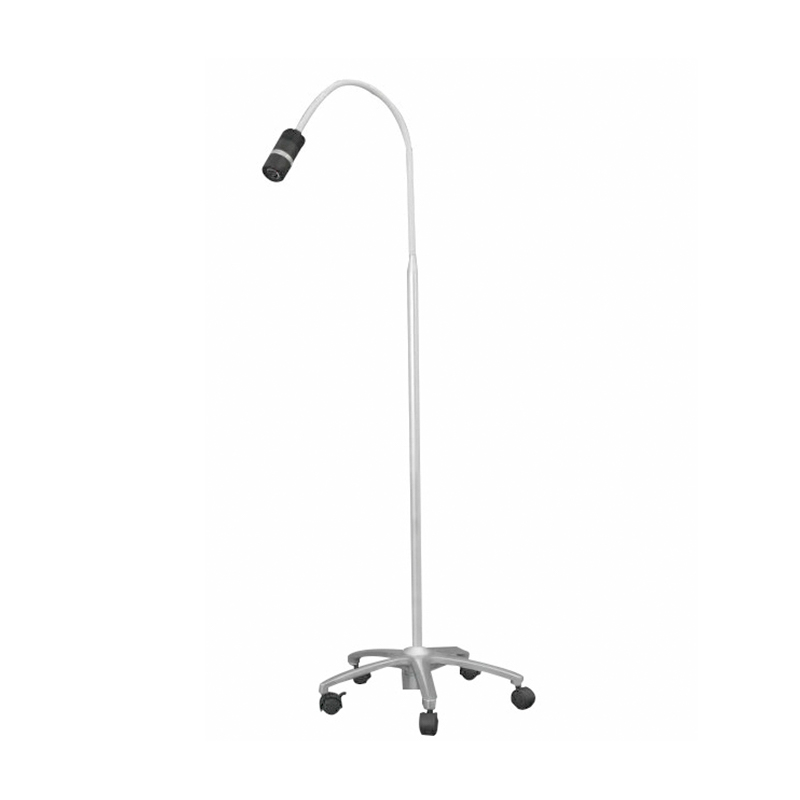
 3W LED Gooseneck Examination Lamp with Built-In Backup BatteryThis portable lamp suits ward-based exams where power outlets may be scarce, offering 4-5 hours of battery operation during outages. Its gooseneck design allows flexible positioning for a focused, reliable examination.View Product →
An honest limitation summary is part of good clinical practice. A negative Wood's lamp examination does not rule out serious eye disease. Clinical commentaries have made this point repeatedly: patients with anterior chamber pathology—including uveitis, hyphema, or a subtle penetrating injury—can have a perfectly normal corneal surface and absolutely no fluorescein uptake. The test sees the cornea and conjunctiva. It does not see the anterior chamber, lens, vitreous, or retina.
Refer to ophthalmology when pain is out of proportion, visual acuity is reduced, photophobia is intense, or the history suggests pressure change or perforation—regardless of what the lamp shows.
The dye and the lamp are only half of the picture. A complete eye assessment needs two separate light sources: the Wood's lamp for fluorescence, and a general examination lamp for lid inspection, conjunctival review, and pupillary response. The second light must be bright, glare-free, and adjustable enough to concentrate a small spot on the eye without spilling into the patient's face. That is exactly where examination-lamp design matters in daily practice.
Portable gooseneck lights with adjustable spot size suit the multi-purpose clinic room; battery-equipped models help in hospital wards where power sockets are not always at hand; and sturdy stand-mounted halogen lamps still hold their ground in fixed, dimmable workstations. A quick review of the examination lamp range helps procurement teams see what is available at different price points before committing to a purchase.
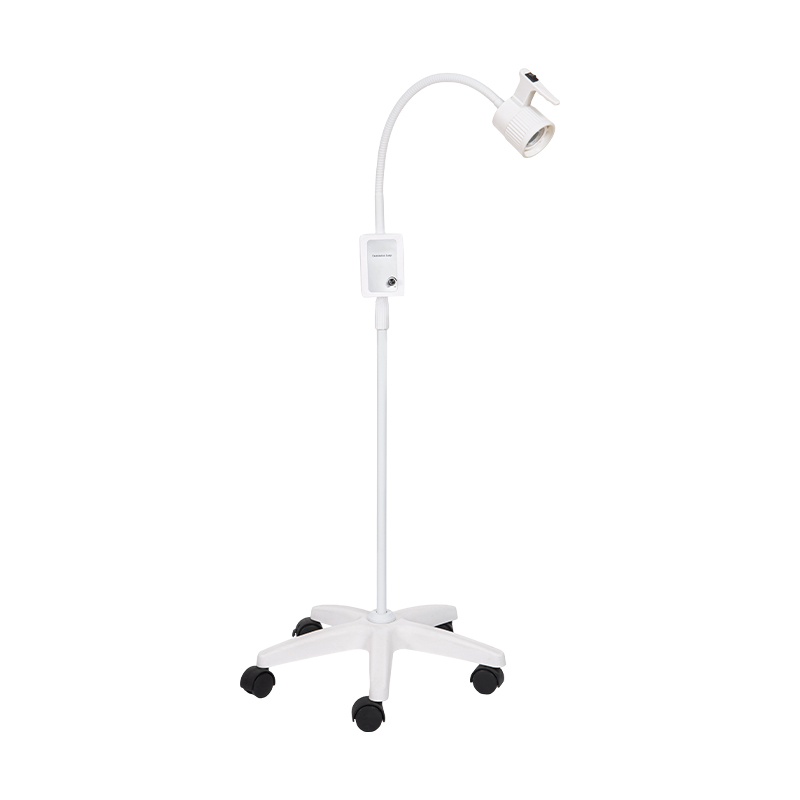
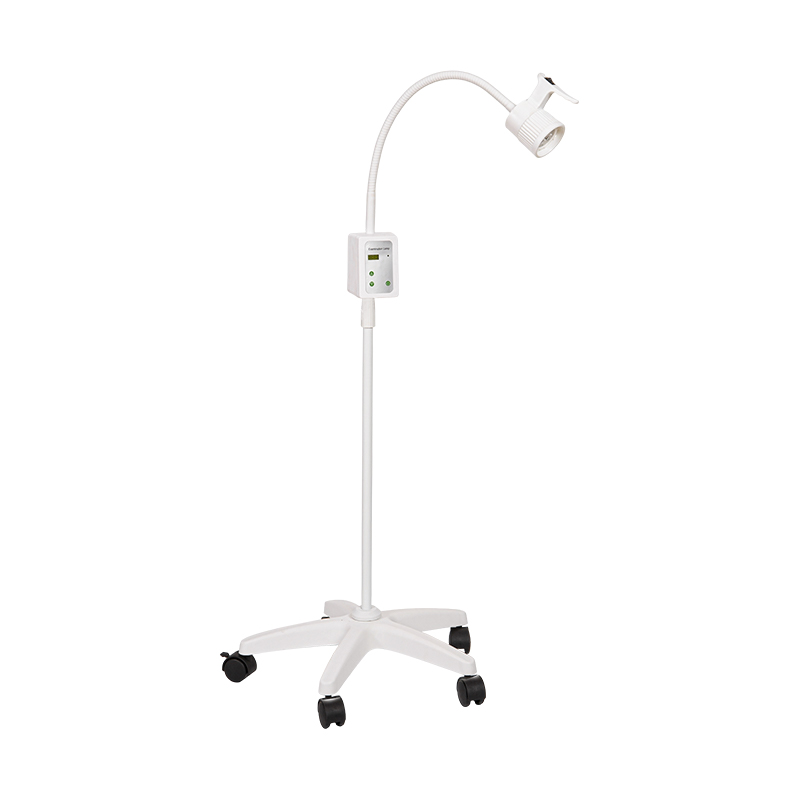
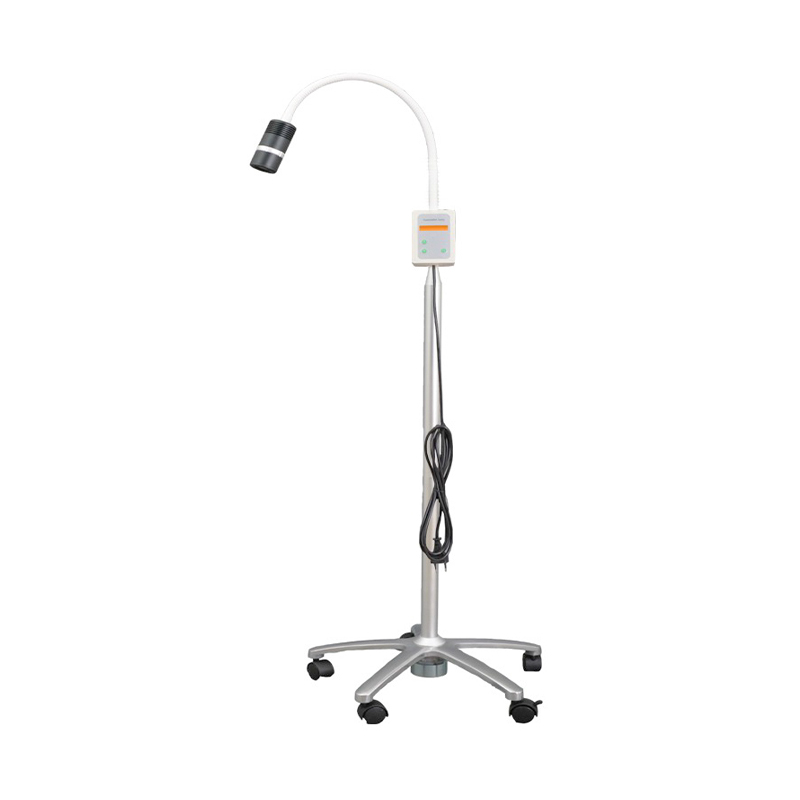
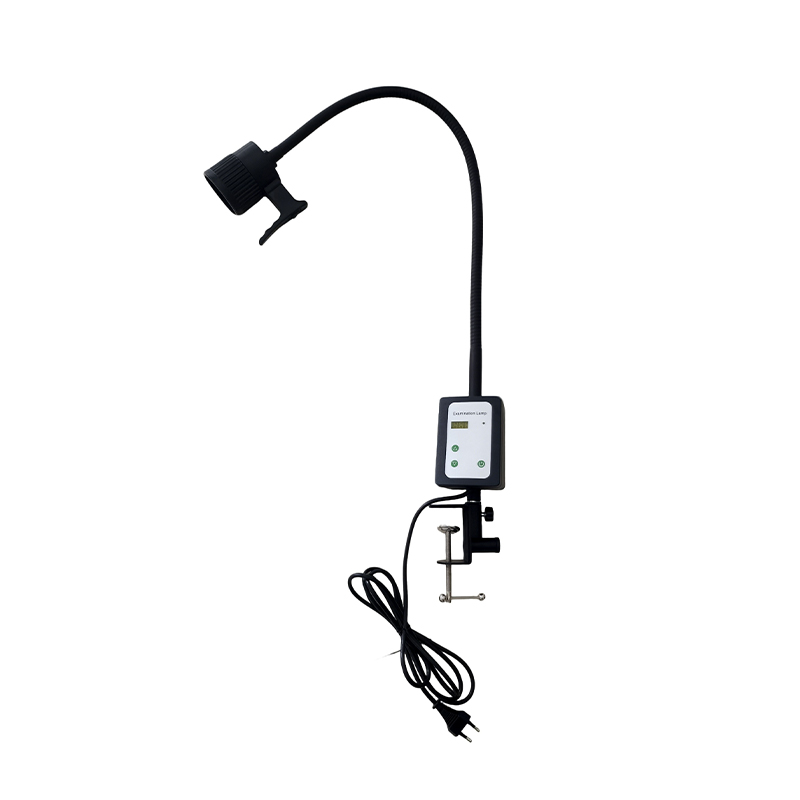
 12W Gooseneck Examination Lamp with Adjustable Spot Size and BrightnessIdeal for multi-purpose clinic rooms, this LED lamp lets you adjust spot size and brightness, and it remembers frequently used settings. A flexible metal hose and foot switch add convenience during examinations.View Product →
For permanent rooms, a stand-mounted halogen lamp remains a dependable, familiar choice for clinicians trained on conventional light sources.
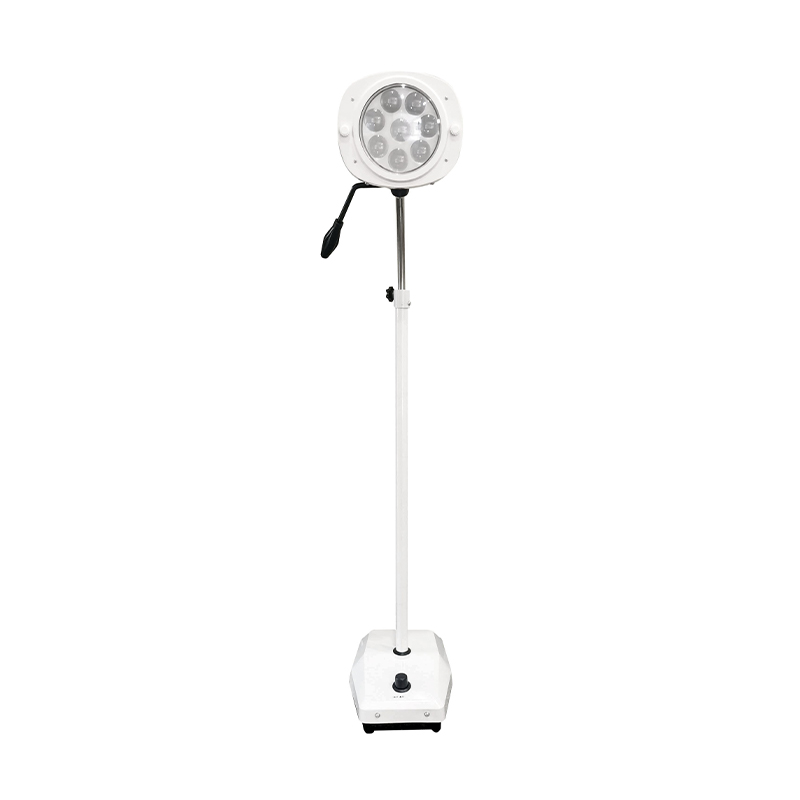
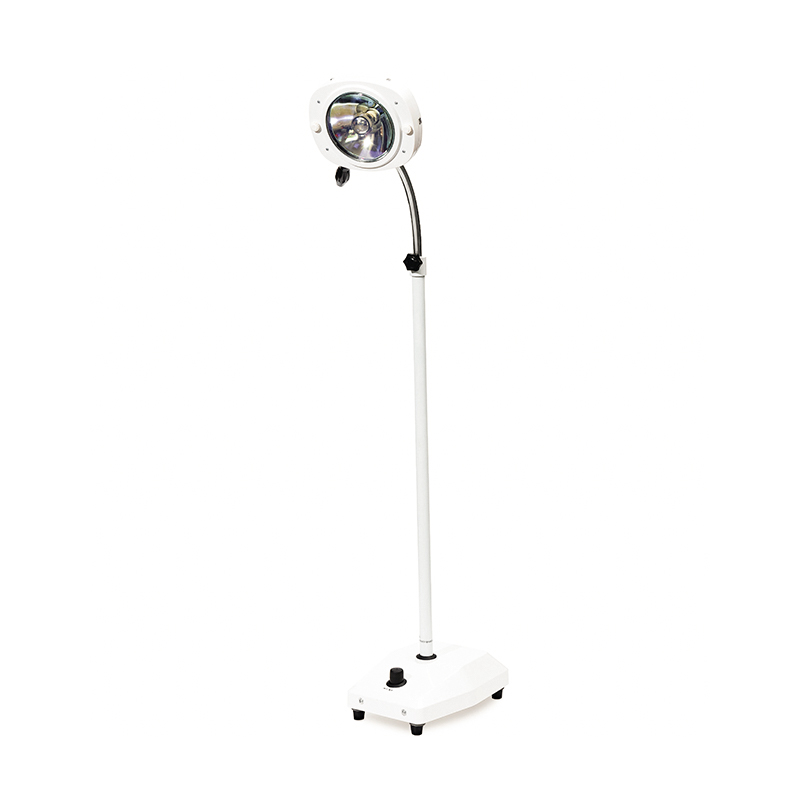
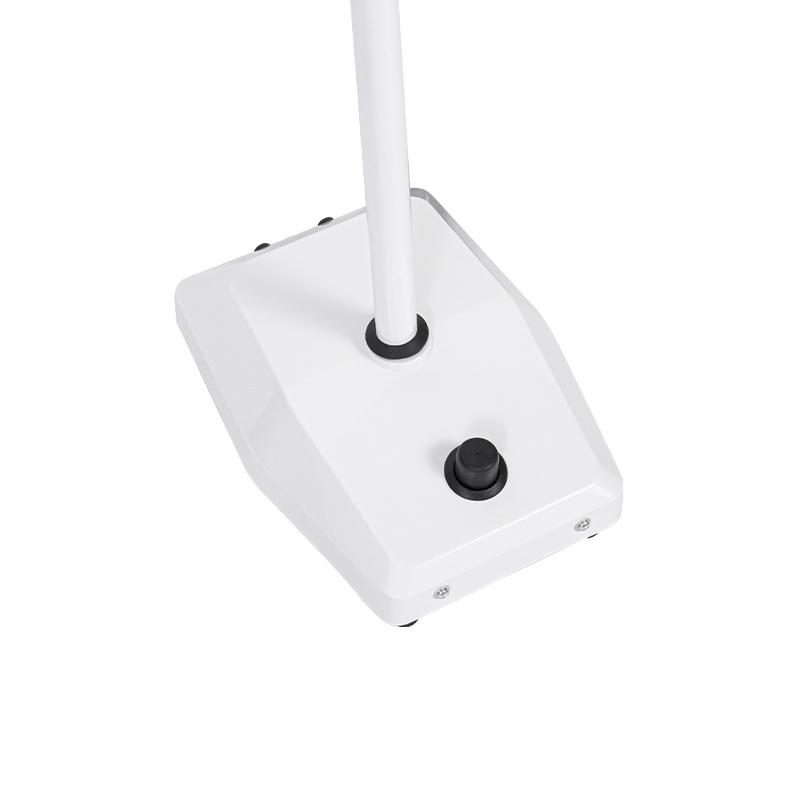 25W Halogen Single-Hole Stand Examination Lamp for Fixed WorkstationsA dependable choice for permanent examination rooms, this stand-mounted lamp offers adjustable height from 1000-1600mm and a spherical joint for stable positioning. Its single-hole cold light minimizes shadow interference.View Product →
Hospital buyers also have to connect the lighting choice with room disinfection and instrument maintenance protocols. Regular reading of applied industry guidance on equipment selection keeps the examination station aligned with current safety expectations.
Use fluorescein and the Wood's lamp as a disciplined first step, not a final verdict. The test reliably locates corneal epithelial loss, guides immediate management, and provides a visible reason to refer when the staining pattern is unexpected. Pair it with a reliable examination light, keep your technique slow and systematic, and respect the red flags that carry patients to the ophthalmologist. Done that way, this classic screening method earns its place in every emergency room, clinic, and training program.
 We have specialised in medical devices for 32 years.
Contact Us
 No 48 Xiaokan Rd, Shizhuang town, Jiangyin, Jiangsu, China
 sara@jsf-qx.com
 +86-18915253915
 +86-18861287595
+86-18915253915
+86-18861287595
+86-18915253915
Copyright @ Jiangyin Jianshifu Equipment Co.,Ltd.
 Custom Disinfection Equipment Manufacturers
China Disinfection Equipment Factory
Custom Disinfection Equipment Manufacturers
China Disinfection Equipment Factory
The information provided on this website is intended for use only in countries and jurisdictions outside of the People's Republic of China.


 English
  عربى
عربى