By Admin
Content
A dental office runs 35 to 40 sterilization cycles a week. If the door gasket starts leaking steam in March, the cycle printout still reads 134 °C, the chemical indicator strip still turns dark, and nobody notices anything — but a hollow instrument lumen can sit several degrees cooler than the chamber sensor, and that gap is where failures hide. A biological spore test is the one routine check that answers the question no printout can: did the process actually kill the most resistant organisms it is supposed to kill?
Short answer: yes, it is the reference method, and weekly spore testing is the baseline most infection-control guidelines expect. Chemical indicators and cycle printouts measure conditions and process drift. Only a biological indicator measures lethality directly.
A sterilizer printout reports what the machine did with its own sensors: chamber temperature, pressure, and time at setpoint. Those numbers can sit inside specification while a wrapped tray at the back of a densely packed chamber never reaches the target temperature, because air was not fully removed. Chemical indicators respond to heat or steam exposure and will catch a pack that never entered the chamber at all, but they cannot tell you whether 99.9999 percent of organisms died or almost none did.
A biological indicator is a deliberate challenge rather than a proxy. Each unit carries roughly 100,000 to 1,000,000 spores of a species chosen to be more resistant to your sterilization process than the organisms you actually worry about. If that challenge dies, the cycle had real margin. That is why "spore test" and "biological monitoring" mean the same thing in practice, and why everything else in the sterilization room is judged against it.
These methods do not replace each other, because they fail in completely different ways. A single cycle can produce a perfect printout and a passing chemical indicator while the biological result comes back positive.
| Method | What it measures | Placement | Time to result | What a failure tells you |
|---|---|---|---|---|
| Mechanical monitoring | Chamber time, temperature, pressure | Chamber sensors and probe | Immediate | Something drifted, but says nothing about microbial kill |
| Chemical indicator (Class 5 or 6) | Heat, steam, and time at that spot | Outside or inside each pack | Seconds to minutes | Packaging or load-placement error, not proof of sterility |
| Bowie-Dick test | Air removal and steam penetration | Test pack in an empty chamber | About 3.5 minutes at 134 °C | Air-removal problem; does not measure lethality |
| Biological spore test | Whether viable resistant spores were killed | Hardest spot in a normal load | 24 hours, or 1 to 3 hours with rapid-readout systems | Real sterilization failure, so the load is not sterile |
A cycle printout can be flawless on a load that failed biologically. That is the entire argument for running the spore test on a fixed schedule instead of only when something looks wrong.
Spore resistance is process-specific, so the indicator has to match the cycle. A steam indicator used in an ethylene oxide run produces a meaningless result, not a passing one.
| Process | Indicator organism | Typical incubation |
|---|---|---|
| Steam, 121 °C or 134 °C | Geobacillus stearothermophilus | 55 to 60 °C |
| Ethylene oxide | Bacillus atrophaeus | 35 to 37 °C |
| Dry heat | Bacillus atrophaeus | 35 to 37 °C |
| Vaporized hydrogen peroxide | Geobacillus stearothermophilus | 55 to 60 °C |
The carrier beneath those spores also matters. Spores sit on a paper strip, a stainless steel disc, or a glass-fibre carrier. In a self-contained indicator, the carrier and a crushable ampoule of growth medium travel in one tube; strip-and-media formats ship separately and you add the medium yourself. Self-contained units cost more per test and remove the transfer step where contamination and mislabelling happen.
Do not skip the control. Incubate one unprocessed indicator from the same lot beside the test unit. Growth in the control — a colour change or turbidity in the medium — proves the spores were alive and the medium works, so a no-growth result on the test unit actually means something.
Note the asymmetry: a positive control with a positive test is a genuine failure, not an invalid run. Only a control that fails to grow voids the test.
Speed beats paperwork here. Take the sterilizer out of service immediately and tag it. Then recall everything processed since the last documented negative result, including instruments already in drawers, on trays, or in procedure rooms. In a practice running 35 loads a week, that interval can cover hundreds of instruments.
Look for the usual causes: worn door gaskets, a clogged chamber drain strainer, incomplete air removal, packs that were too dense or badly positioned, insufficient dry time, or a cycle parameter nobody adjusted deliberately. In most protocols, the sterilizer then runs three consecutive indicators and must produce three negatives before returning to service.
Document the failure, the corrective action, and the requalification. A positive result handled that way is a paper trail a surveyor will accept. A positive result with no follow-up is an infection-control breach waiting to be traced.
Weekly biological monitoring is the widely quoted minimum for steam sterilizers, and each load containing implantable devices is normally monitored on its own, with the load quarantined until the result is read. High-volume clinics often test daily and treat the spore test as a release check for the day's first load.
Keep the indicator log, incubator temperature checks, and cycle printouts for the period your local rules require, commonly three years or longer. A surveyor will typically look for three things: that the log is current, that results are read at the labelled time rather than whenever someone remembers, and that a positive result triggered a documented response.
A passing spore test certifies the sterilizer. It says nothing about the air in the treatment room, the mattress a patient lies on, or the surfaces an instrument cart rolls past between procedures. Those are separate contamination pathways with their own control methods.
For rooms that run sterilizer loads all day and cannot be closed between patients, air disinfection works alongside the autoclave rather than instead of it. A mobile plasma unit can be moved between bays and operated during working hours, which matters when you cannot shut a room down for an hour of settling time.
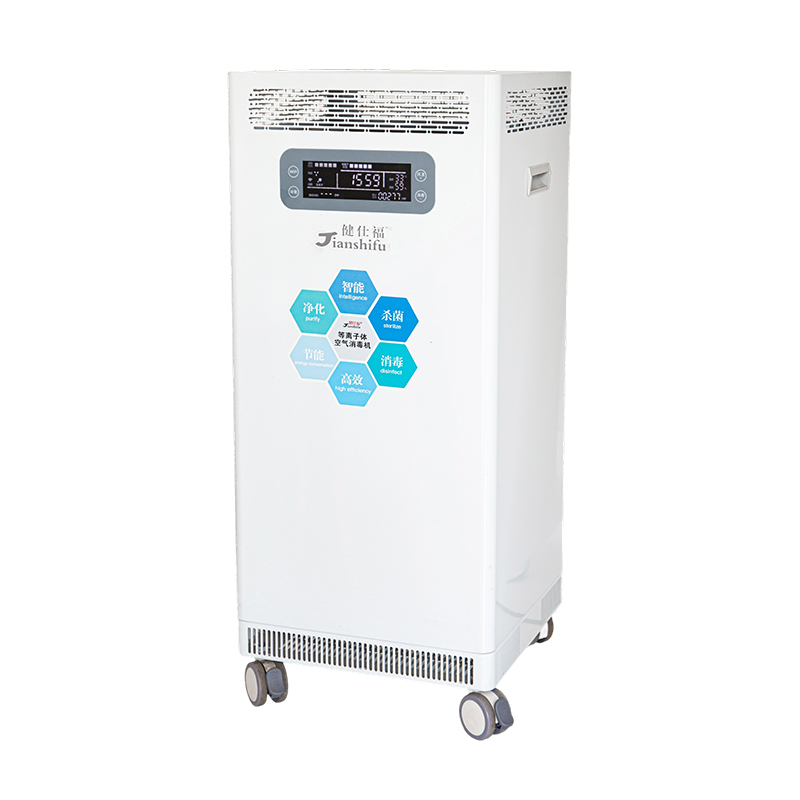 Mobile Plasma Air Disinfection Unit for Occupied Clinical RoomsA mobile plasma air disinfection unit suited to rooms that cannot be closed between patients, allowing movement between bays during working hours.View Product →
Air-change rates, unit placement, and run times are covered in more detail in our notes on how a plasma air sterilizer clears an occupied room.
Between patients, a mattress cover gets wiped. Over a year, moisture wicks into the mattress core where no wipe reaches, which is why bed unit disinfection is treated as its own defined process rather than part of routine room cleaning.
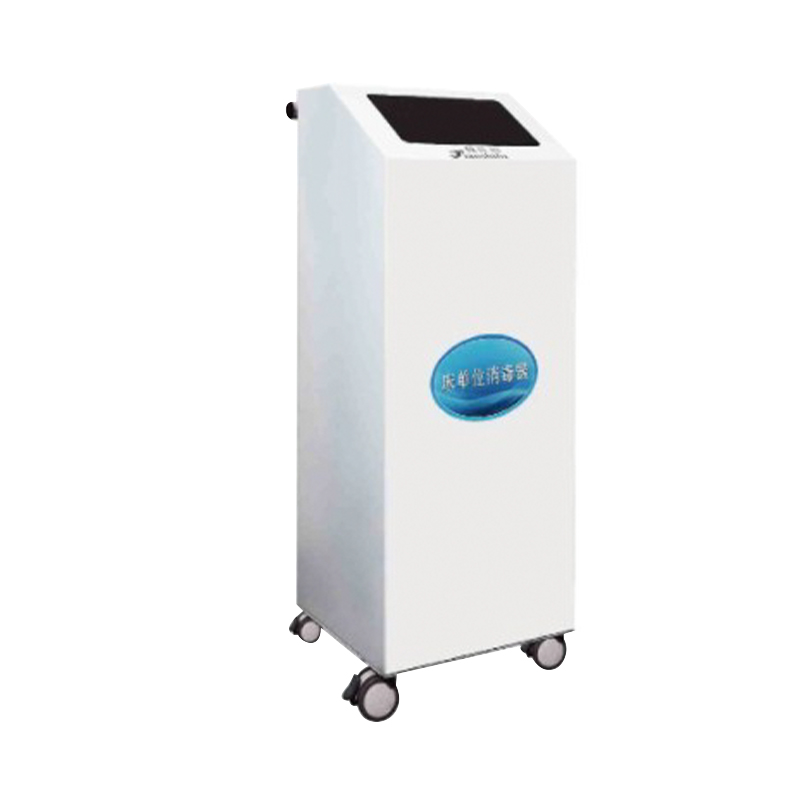 Mobile Ozone Bed Unit Sterilizer for Medical BeddingMobile ozone disinfection for bedding and bed units, reaching mattress cores that routine wiping cannot; can treat two beds at once to improve availability.View Product →
Surface carts with ultraviolet lamps cover walls, floors, and equipment housings that a cloth cannot, and water used for rinsing instruments or handpieces needs its own treatment, because biofilm will never show up in a weekly spore test. Buying these as one set from a single medical disinfection equipment supplier keeps documentation, training, and spare parts consistent across the entire infection-control chain.
The spore test is the cheapest insurance in the sterilization room: a few dollars a week, one incubation cycle, and a written record proving your sterilizer did what the display claimed. Air, beds, surfaces, and water are all easier to defend once that baseline is in place.
 We have specialised in medical devices for 32 years.
Contact Us
 No 48 Xiaokan Rd, Shizhuang town, Jiangyin, Jiangsu, China
 sara@jsf-qx.com
 +86-18915253915
 +86-18861287595
+86-18915253915
+86-18861287595
+86-18915253915
Copyright @ Jiangyin Jianshifu Equipment Co.,Ltd.
 Custom Disinfection Equipment Manufacturers
China Disinfection Equipment Factory
Custom Disinfection Equipment Manufacturers
China Disinfection Equipment Factory
The information provided on this website is intended for use only in countries and jurisdictions outside of the People's Republic of China.


 English
  عربى
عربى