By Admin
Content
A child arrives at a pediatric clinic with scaly, itchy patches on the scalp. Fungal culture would take two to three weeks to confirm the cause; a scan under a medical Wood's lamp takes under a minute and, for Microsporum infections, shows a tell-tale blue-green glow on the spot. That everyday scenario explains why this device has held its place in dermatology rooms for more than a century. The conclusion comes first: a Wood's lamp is one of the lowest-cost, lowest-risk diagnostic aids a skin clinic can own, but only when the unit delivers true 365 nm long-wave ultraviolet light and the operator follows disciplined technique. The sections below explain how the lamp works, what each fluorescence color suggests, how to run the examination, and what to verify before purchasing one.
The lamp never diagnoses by itself — it makes certain compounds in and on the skin glow, and a trained clinician reads the pattern. The device emits long-wave UVA centered around 365 nm, spanning roughly the 320-400 nm band, while a dense violet filter blocks almost all visible light. Under this light, fluorescent substances such as bacterial porphyrins, fungal metabolites, and natural pigments absorb the ultraviolet energy and re-emit it as visible color. Healthy skin reflects a faint blue, thickened skin reads yellow, and oily or unwashed skin shifts toward purple; recognizing these normal responses is the baseline for spotting anything abnormal.
Since physicist Robert Wood developed his nickel-oxide-filtered glass in 1903, the optical principle has barely changed, but the light source has. Traditional units pair a 4 W or 8 W UVA tube with a Wood's-type filter and need one to two minutes of warm-up for stable output. LED-based 365 nm lamps stabilize instantly, run cooler, and hold their output level over a far longer service life — a practical advantage for busy clinics and for repeat photographic comparisons. In both designs, it is filter quality rather than the wattage printed on the box that determines whether the colors you see can be trusted.
The quick-reference picture: blue-green suggests a Microsporum scalp infection, coral pink points to erythrasma, and bright blue-white outlines depigmented skin with sharp contrast. Dermatology reviews summarize the recurring patterns as follows:
| Condition | Typical fluorescence | Clinical note |
|---|---|---|
| Tinea capitis (Microsporum species) | Blue-green | The classic "green ring" sign on the scalp; Trichophyton species often show no fluorescence |
| Erythrasma | Coral pink to red | Caused by Corynebacterium minutissimum; common in skin folds and toe webs |
| Pseudomonas wound infection | Green | Pyoverdin pigment; useful on burns, chronic ulcers, and outer-ear infections |
| Pityriasis versicolor | Pale yellow-gold | Fungal spots and fine scale glow faintly, often on chest and back |
| Vitiligo and other pigment loss | Bright blue-white | Depigmented areas stand out sharply; helps map margins before phototherapy or grafting |
| Acne (Cutibacterium acnes) | Orange-red | Follicular porphyrins light up across the affected zone |
| Porphyria | Pink-red | Urine, stool, and in some forms even teeth show fluorescence |
| Head lice nits | Pale blue-white | Helps separate viable nits from hair casts and debris |
One caution belongs beside the table: fluorescence supports a diagnosis, it never delivers one. Laboratory tests still settle the question — the lamp's job is to tell you where to look and what to sample first.
Technique decides accuracy more than price does. Run every session in the same sequence:
Bottom line: pay for wavelength accuracy and filter quality, not for appearance or peak wattage. Five checkpoints separate a diagnostic instrument from a glowing toy:
The most common procurement mistake is buying on price alone. An under-filtered lamp produces a purple haze that turns every reading into guesswork, and a unit without consumable support can sit idle for weeks waiting for a replacement tube.
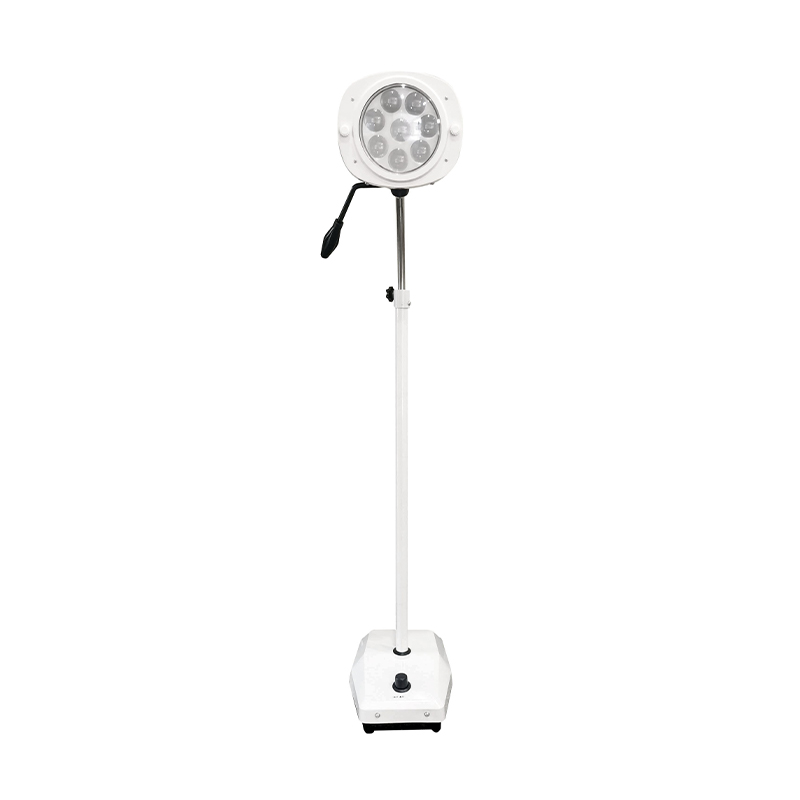
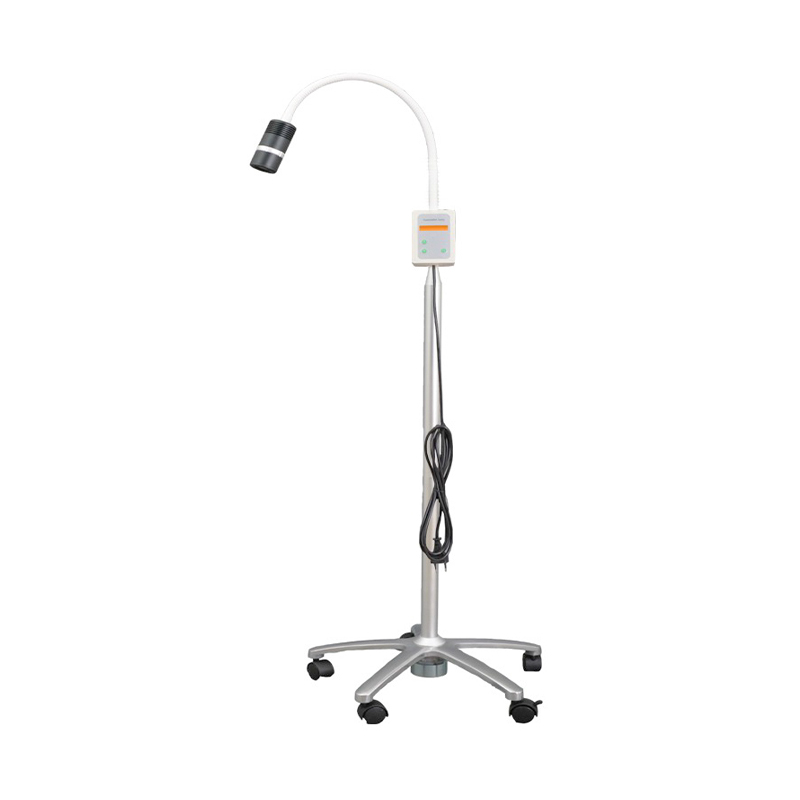
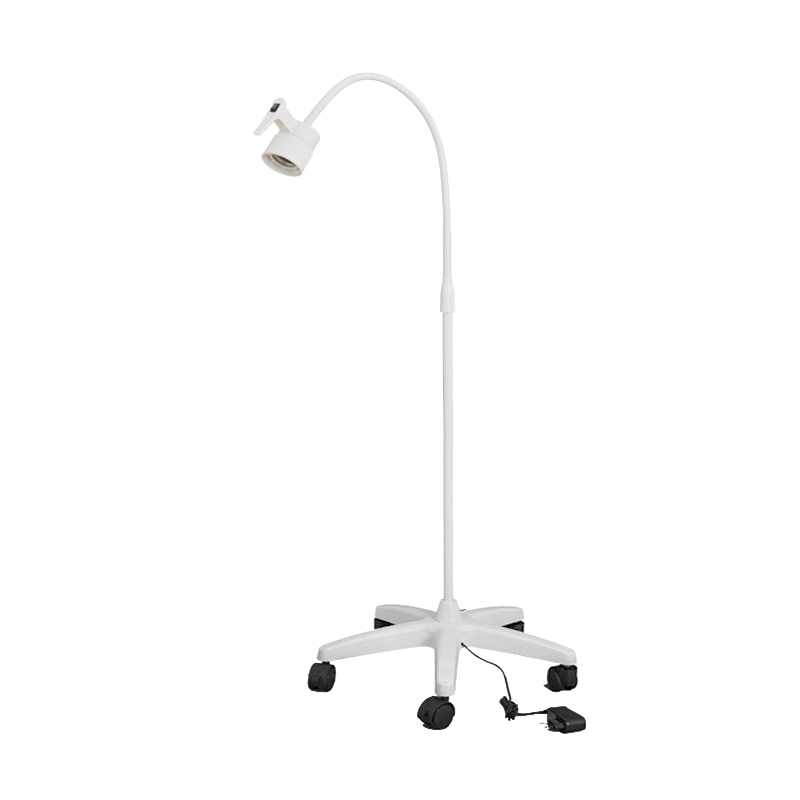
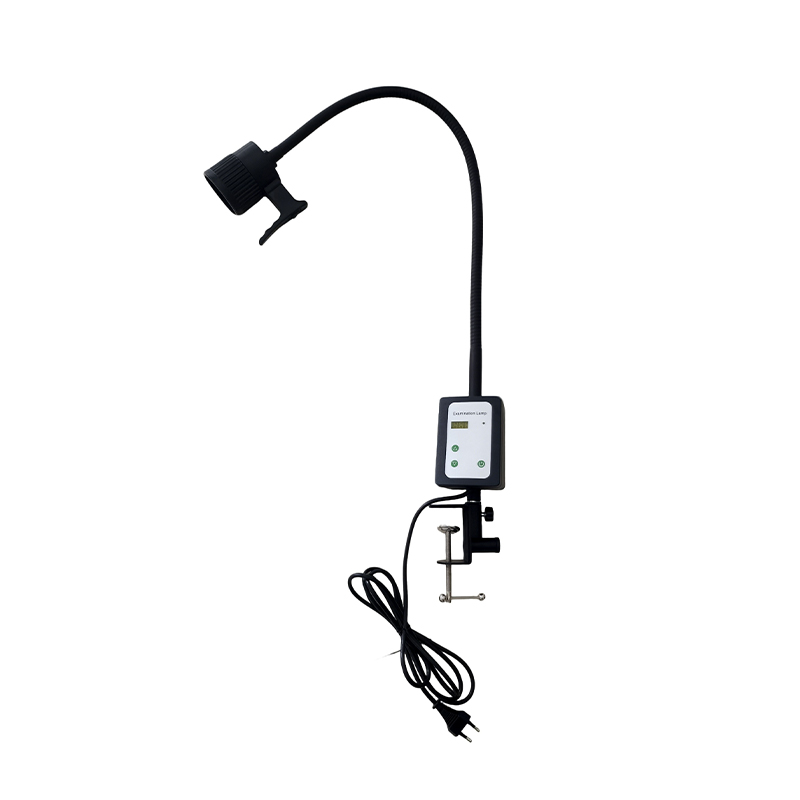
A Wood's lamp answers one narrow question under ultraviolet light; everything before and after that scan happens under ordinary white light. The skin must be inspected and cleaned under a neutral beam, lesion borders need re-checking under high color-fidelity illumination once the ultraviolet findings are in, and bedside follow-up needs its own light source. Three examples from our examination lamp series show how clinics typically cover those needs:
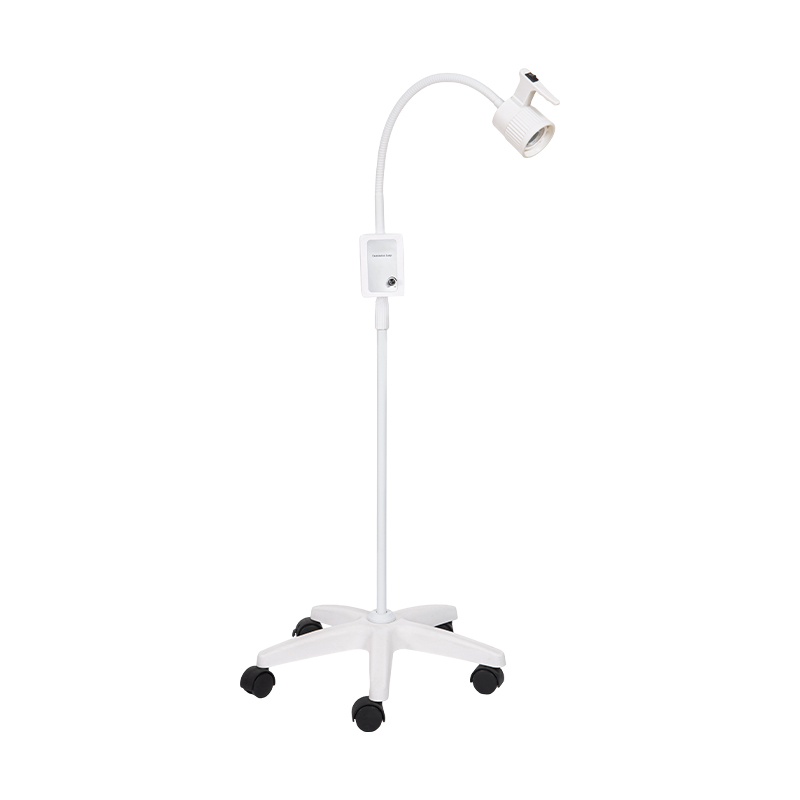
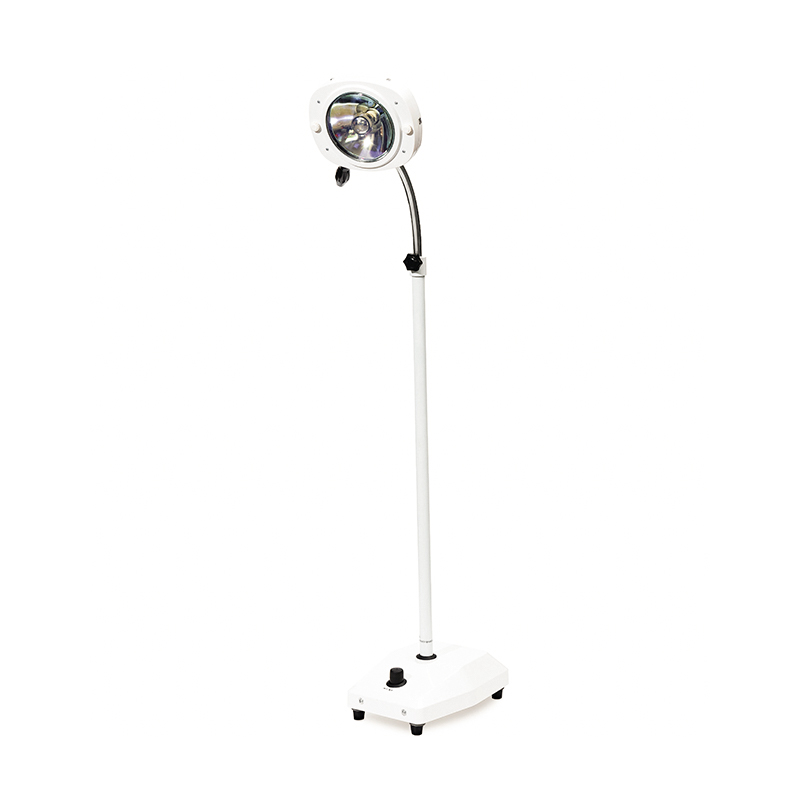
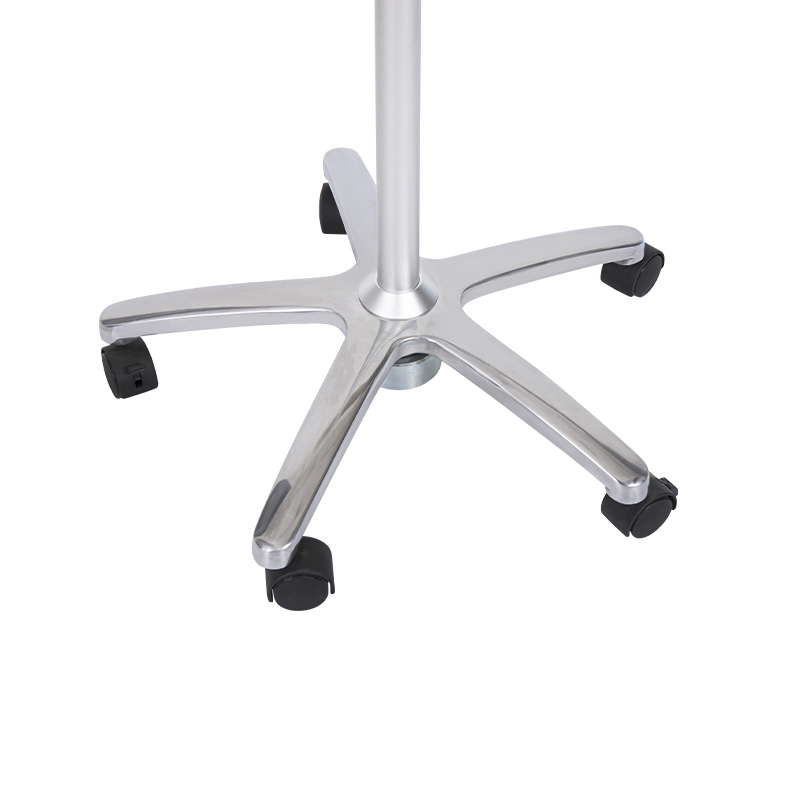 12W LED Examination Lamp with Adjustable Spot Size and BrightnessThis 12W LED examination lamp offers true color reproduction, adjustable spot size and brightness, and a flexible metal hose, making it suitable for inspecting skin and re-checking lesion borders under high-fidelity white light.View Product →
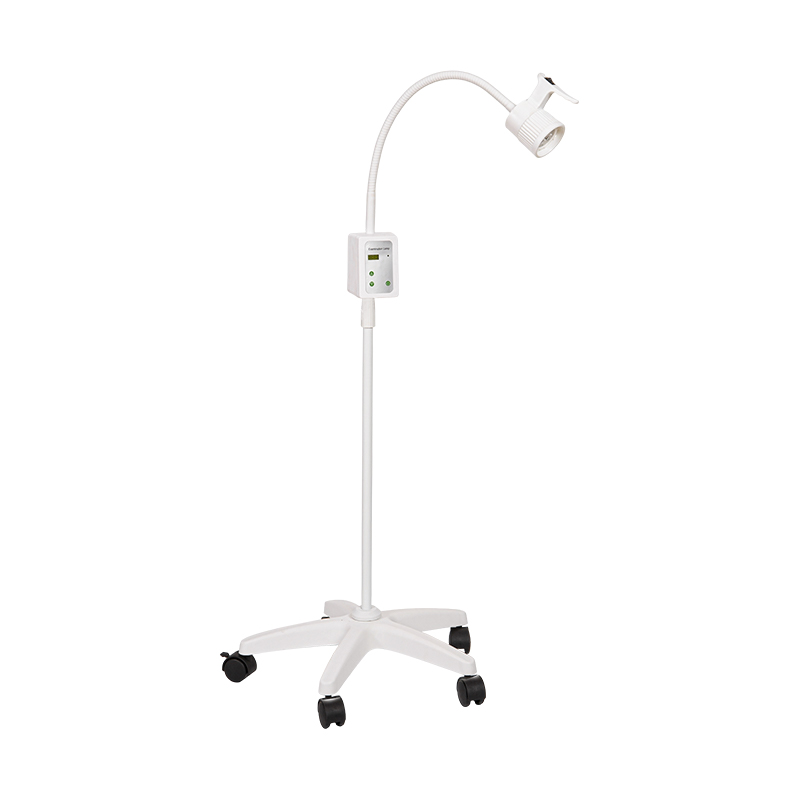
 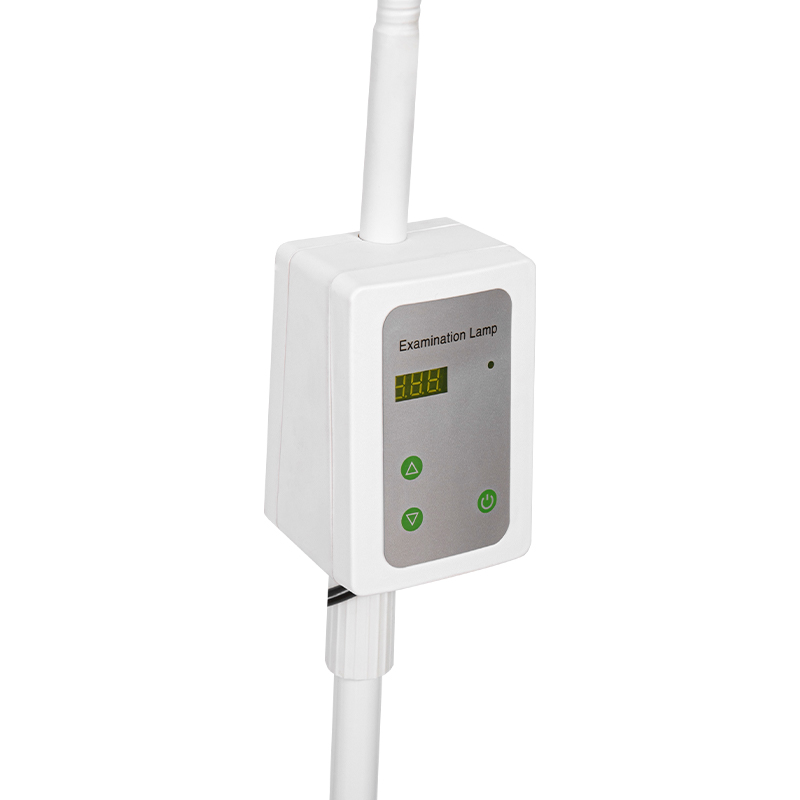 9W LED Examination Lamp with Adjustable Brightness and Flexible ArmWith a compact 75mm lamp head, stable flicker-free white light, and a freely positionable arm, this 9W lamp provides uniform illumination for neutral skin inspection around ultraviolet screening procedures.View Product →
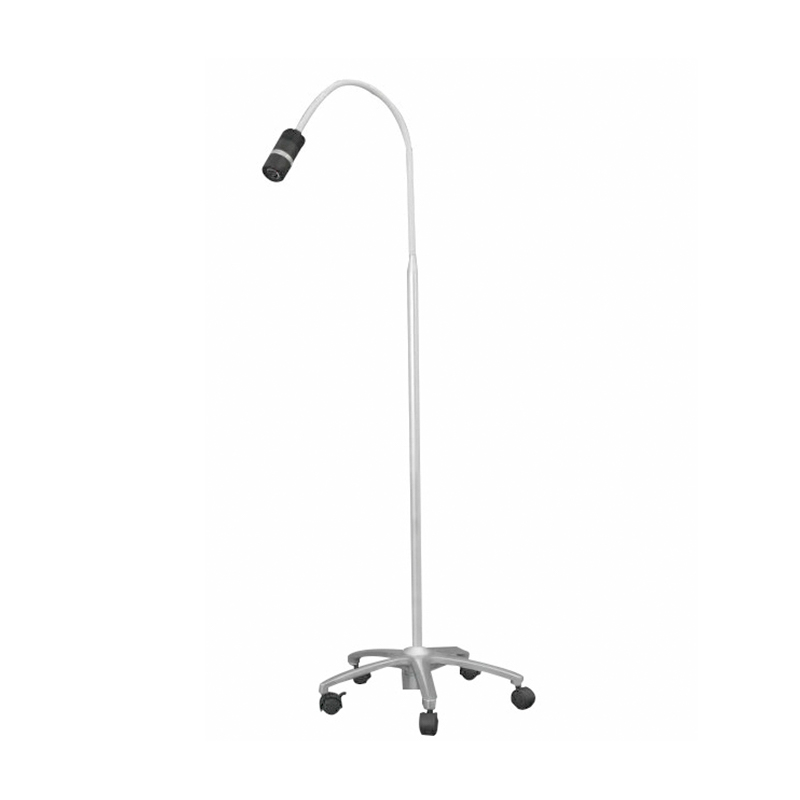
 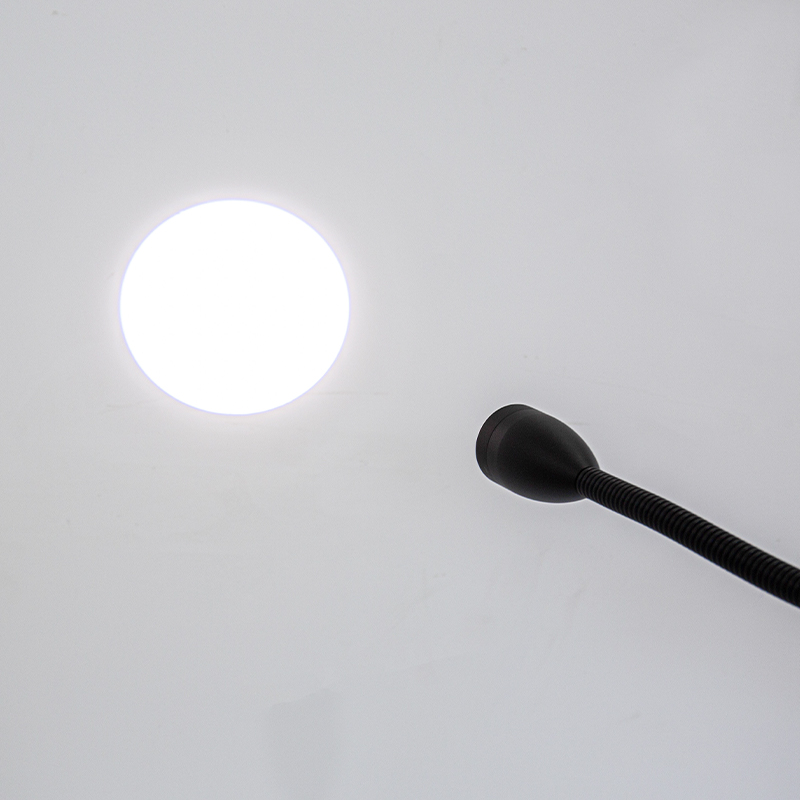 5W LED Clip-On Gooseneck Examination Light for Hospital BedsThis clamp-mounted 5W gooseneck light saves space on bed or tower rails and offers an extended flexible arm, making it a practical bedside light source for follow-up after Wood's lamp scans.View Product →
As a manufacturer of medical examination lighting and UV disinfection equipment since 1993, we advise customers to treat the two light types as a matched pair: the Wood's lamp for fluorescent screening, and a dimmable, spot-adjustable LED examination lamp for everything else. For rooms that also handle minor procedures, lighting demands climb another step — our notes on precision lighting for surgical procedures cover that transition in detail.
Kept within those boundaries, a well-built lamp serves a clinic for years at a fraction of the cost of any advanced imaging alternative.
A medical Wood's lamp costs little, adds no meaningful risk beyond low-intensity long-wave UVA, and compresses days of diagnostic waiting into a minute of scanning — a rare combination in clinical equipment. If you are equipping a new dermatology room or upgrading an existing one, pair a properly filtered 365 nm unit with dependable white-light examination lamps from a certified medical device manufacturer. Browse our full range of examination lighting and disinfection equipment, or contact our team for a quotation and model advice matched to your facility's layout and patient volume.
 We have specialised in medical devices for 32 years.
Contact Us
 No 48 Xiaokan Rd, Shizhuang town, Jiangyin, Jiangsu, China
 sara@jsf-qx.com
 +86-18915253915
 +86-18861287595
+86-18915253915
+86-18861287595
+86-18915253915
Copyright @ Jiangyin Jianshifu Equipment Co.,Ltd.
 Custom Disinfection Equipment Manufacturers
China Disinfection Equipment Factory
Custom Disinfection Equipment Manufacturers
China Disinfection Equipment Factory
The information provided on this website is intended for use only in countries and jurisdictions outside of the People's Republic of China.


 English
  عربى
عربى